Canon Prima AF-9s Set- Manuels
Canon Prima AF-9s Set- Manuel d'utilisation en ligne au format PDF.
Manuels:
Manuel d'utilisation Canon Prima AF-9s Set


Résumé
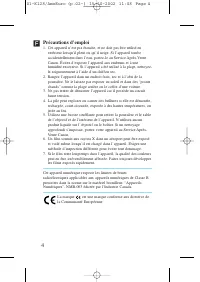
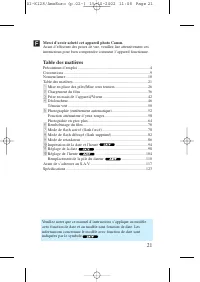
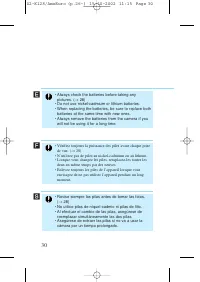
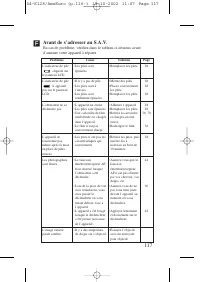
Précautions d’emploi 1. Cet appareil n’est pas étanche, et ne doit pas être utilisé en extérieur lorsqu’il pleut ou qu’il neige. Si l’appareil tombeaccidentellement dans l’eau, portez-le au Service Après-VenteCanon. Évitez d’exposer l’appareil aux embruns et à unehumidité excessive. Si l’appareil a ...
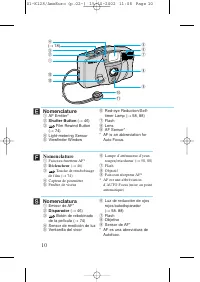
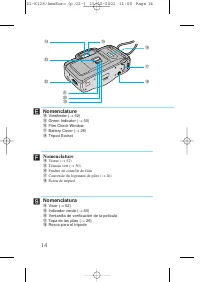
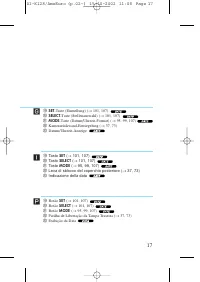
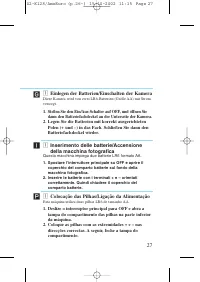
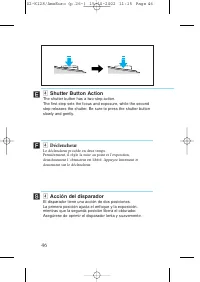
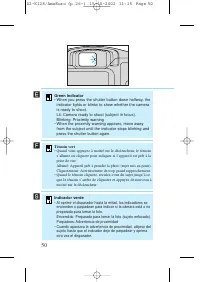
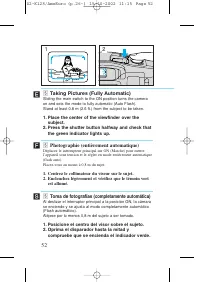
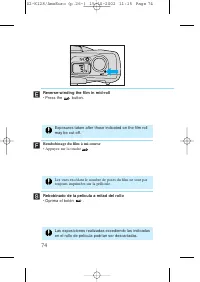
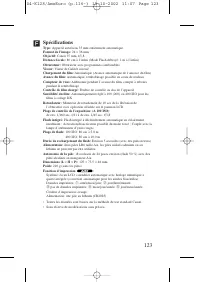
Nomenclature q AF Emitter* w Shutter Button ( → 46) e Film Rewind Button ( → 74) r Light-metering Sensor t Viewfinder Window y Red-eye Reduction/Self-timer Lamp ( → 58, 88) u Flash i Lens o AF Sensor* * AF is an abbreviation for Auto Focus. 10 ´ C A N O N LE NS 35mm 1:3 .8 ON OFF ( → 18) w q !3 !2 !...
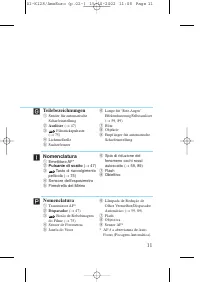
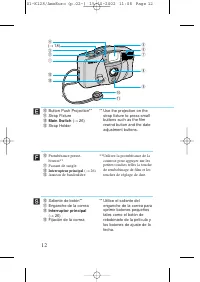
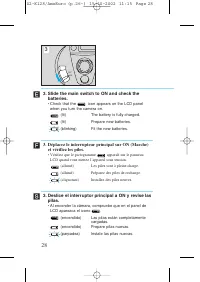
12 !0 Button Push Projection** !1 Strap Fixture !2 Main Switch ( → 26) !3 Strap Holder ** Use the projection on the strap fixture to press smallbuttons such as the filmrewind button and the dateadjustment buttons. ´ !0 Protubérance presse-bouton** !1 Passant de sangle !2 Interrupteur principal ( → 2...
Canon Manuels
-
 Canon 250
Manuel d'utilisation
Canon 250
Manuel d'utilisation
-
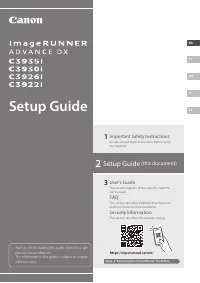 Canon imageRUNNER ADVANCE DX C3935i
Manuel d'utilisation
Canon imageRUNNER ADVANCE DX C3935i
Manuel d'utilisation
-
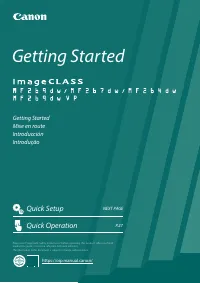 Canon MF269DW VP
Manuel d'utilisation
Canon MF269DW VP
Manuel d'utilisation
-
 Canon D1620
Manuel d'utilisation
Canon D1620
Manuel d'utilisation
-
Canon D1650
Manuel d'utilisation
-
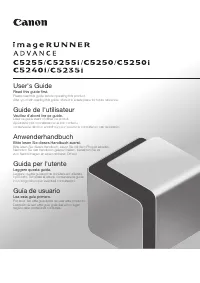 Canon 525
Manuel d'utilisation
Canon 525
Manuel d'utilisation
-
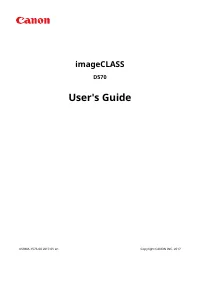 Canon D570
Manuel d'utilisation
Canon D570
Manuel d'utilisation
-
 Canon 215
Manuel d'utilisation
Canon 215
Manuel d'utilisation
-
 Canon 238
Manuel d'utilisation
Canon 238
Manuel d'utilisation
-
 Canon 236
Manuel d'utilisation
Canon 236
Manuel d'utilisation
-
 Canon 226
Notice
Canon 226
Notice
-
 Canon FM1M944
Notice
Canon FM1M944
Notice
-
 Canon 228
Notice
Canon 228
Notice
-
 Canon CU 90
Manuel d'utilisation
Canon CU 90
Manuel d'utilisation
-
 Canon TR
Manuel d'utilisation
Canon TR
Manuel d'utilisation
-
 Canon 260Z
Manuel d'utilisation
Canon 260Z
Manuel d'utilisation
-
 Canon 430 EZ
Manuel d'utilisation
Canon 430 EZ
Manuel d'utilisation
-
 Canon 4374B001
Manuel d'utilisation
Canon 4374B001
Manuel d'utilisation
-
 Canon 7876A003 - CanoScan LiDE 50 Color Scanner
Manuel d'utilisation
Canon 7876A003 - CanoScan LiDE 50 Color Scanner
Manuel d'utilisation
-
 Canon 80 Tele
Manuel d'utilisation
Canon 80 Tele
Manuel d'utilisation