Hoover Sh30050- Manuels
Hoover Sh30050- Manuel d'utilisation en ligne au format PDF.
Manuels:
Manuel d'utilisation Hoover Sh30050


Résumé
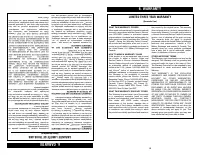
2 Thank you for choosing a HOOVER ® product. Please enter the complete model and Manufacturing Code in the spaces provided. MODEL MFG. CODE Hint: Attach your sales receipt to this owner’s manual. Verification of date of purchase may be required for warranty service of your HOOVER ® product. Be sure ...
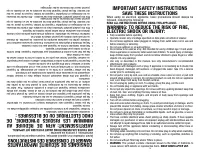
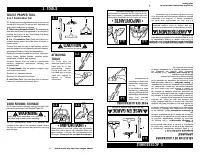
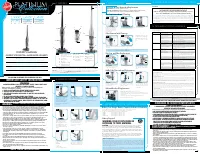
3 3 IMPORTANT SAFETY INSTRUCTIONS SAVE THESE INSTRUCTIONS When using an electrical appliance, basic precautions should always be followed, including the following: READ ALL INSTRUCTIONS BEFORE USING THIS APPLIANCE. WARNING: TO REDUCE THE RISK OF FIRE, ELECTRIC SHOCK OR INJURY: • Fully assemble befor...
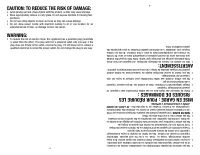
CAUTION: TO REDUCE THE RISK OF DAMAGE: • Avoid picking up hard, sharp objects with this product, as they may cause damage. • Store appropriately indoors in a dry place. Do not expose machine to freezing tem- peratures. • Do not use sharp objects to clean out hose as they can cause damage. • Do not a...
Hoover Manuels
-
 Hoover UH70200
Notice
Hoover UH70200
Notice
-
 Hoover U4707
Notice
Hoover U4707
Notice
-
Hoover UH70105
Notice
-
 Hoover BH50030
Notice
Hoover BH50030
Notice
-
 Hoover BH50015
Notice
Hoover BH50015
Notice
-
 Hoover BH50010
Notice
Hoover BH50010
Notice
-
 Hoover UH70120
Notice
Hoover UH70120
Notice
-
 Hoover WH10600
Manuel d'utilisation
Hoover WH10600
Manuel d'utilisation
-
 Hoover hard floor polisher
Manuel d'utilisation
Hoover hard floor polisher
Manuel d'utilisation
-
Hoover hard floor polisher
Notice
-
 Hoover Battery Chargers
Manuel d'utilisation
Hoover Battery Chargers
Manuel d'utilisation
-
 Hoover E1
Manuel d'utilisation
Hoover E1
Manuel d'utilisation
-
Hoover E1
Notice
-
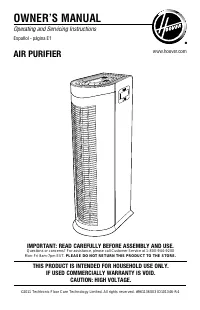
 Hoover Air Cleaner
Manuel d'utilisation
Hoover Air Cleaner
Manuel d'utilisation
-
Hoover Air Cleaner
Notice
-
 Hoover F5914901NC
Manuel d'utilisation
Hoover F5914901NC
Manuel d'utilisation
-
 Hoover F5914900
Manuel d'utilisation
Hoover F5914900
Manuel d'utilisation
-
 Hoover MISTRAL-TMI1815 019
Manuel d'utilisation
Hoover MISTRAL-TMI1815 019
Manuel d'utilisation
-
 Hoover TELIOS PLUS TTE 2304 019
Manuel d'utilisation
Hoover TELIOS PLUS TTE 2304 019
Manuel d'utilisation
-
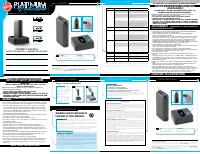
 Hoover PLATINUM Cordless Stick Vac
Manuel d'utilisation
Hoover PLATINUM Cordless Stick Vac
Manuel d'utilisation